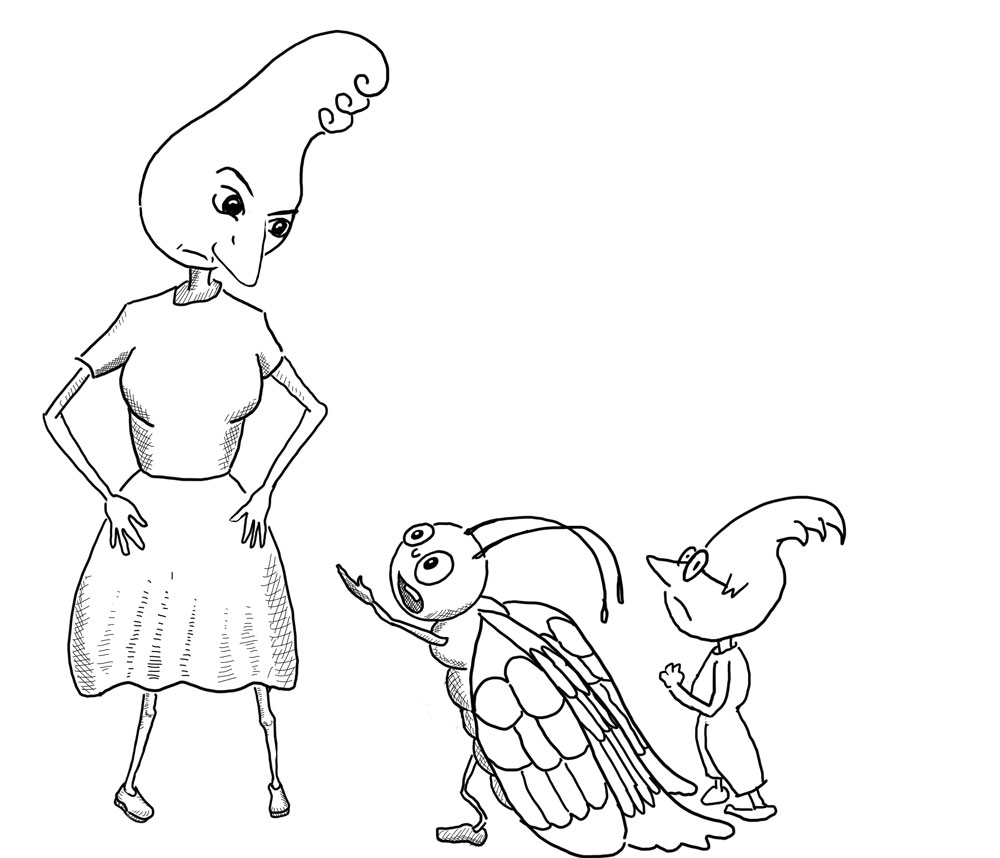
Picture #30, Buddy Takes the Blame
/This drawing is 100% digital. I had to recreate the “Buddy Takes the Blame” picture because I used the original version for the “Buddy Asks to Join the Jay Family” picture. I got lazy, and today was payback time. This picture took about one hour to draw. Momma Jay looks a little upset!